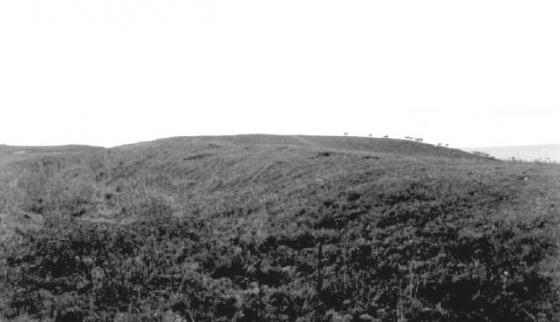
Ligger Point from the southeast. The western barrow can be seen standing prominently on the headland.
Image credit: A. Brookes (19.6.2013)
Ligger Point from the southeast. The western barrow can be seen standing prominently on the headland.

The eastern barrow.

The central barrow (right foreground) and the western barrow (left background).

The central barrow.

Western barrow from the south.

The western barrow, from the west. The sign reads “Warning – Troops Training. Do not touch any military debris, it may explode and kill you”. So there.

The western barrow.

Ligger Point barrows seen across Hoblyn’s Cove to the north. The largest barrow is on the highest point of the headland, the other two can be seen down the slope to the left (landward).