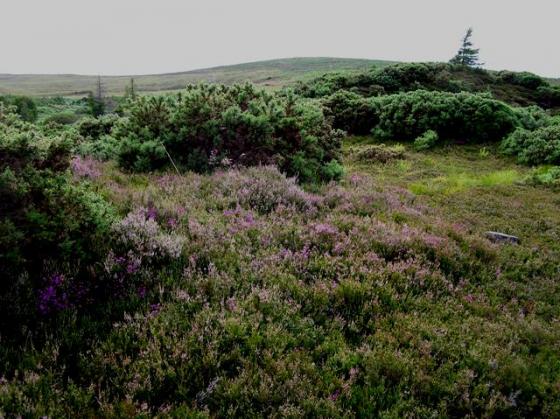
Dlacross Mains, Clava Cairn in Infrared
Image credit: Colin Leslie (www.infrascot.com)
Dlacross Mains, Clava Cairn in Infrared

Dalcross Mains, Clava Cairn in Infrared

Dalcross Mains, Clava Cairn in Infrared.

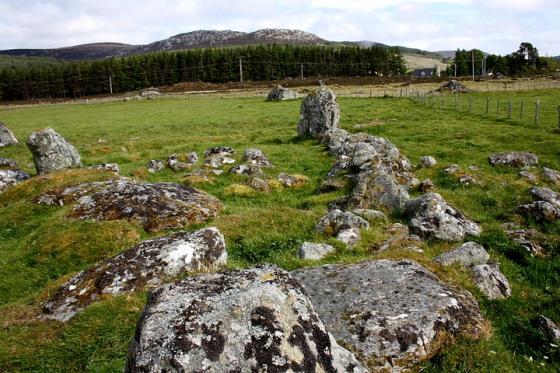
Dalcross Mains viewed from NE

NW Arc of Dalcross Mains Peristalith.

From the northeast. This site deserves to be better known.

The site from the WNW.

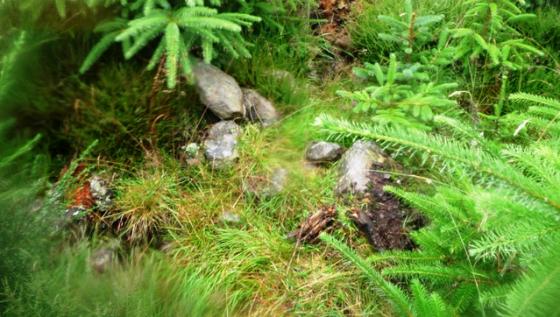
Detail of surviving kerb.

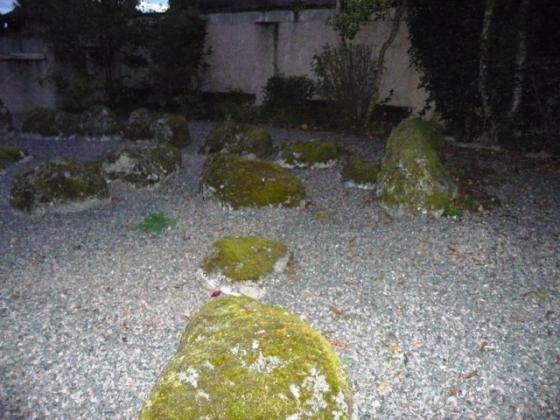
The remains of the central chamber.

The other possible circle stone, fallen in the western arc.

Fine kerbing on the western side of the cairn.

The remaining broken upright, showing the lovely swirling patterns in the grain of the rock.

The remaining upright of the circle, with the cairn itself beyond.

The quarry scoop out of the northwestern side of the mound. Kerbstones hang precariously above the void.

The cairn viewed from the north.

Looking N with the Moray Firth in the background and the only surviving circle stone (1.3m and broken) in the foreground.

Looking E over part of the outer kerb with the surviving circle stone on the right.

The SW outer kerb.
The 4th and 5th stones from the top left are offset from the other kerbstones and mark the entrance to the passage.
A Clava passage grave with a fair bit of outer kerb still visible but not much evidence of the passage and chamber. One surviving but broken circle stone.
Through an unlocked gate and up a slight hill.
7.6.05
Composite description from Canmore:
Dalcross Mains, a Clava passage grave, has had most of the cairn material removed flush with the top of the chamber which is almost 12ft diameter. The kerb is 40-42ft diameter. One monolith survives with a slab to the west of it.
It has been quarried in the NW segment. 10.0m NE of the latter, a further stone, 0.7m high, has possibly been displaced from the inner kerb. Two portal stones remain in the SW, and the outline of the central chamber may still be seen.
Plan on page 22 of the PDF.