Image credit: Robert Gladstone

I’m assuming this is the rest of the row? .... correct me if I’m wrong because it is not exactly obvious.

The (apparent) Bronze Age enclosure of White Tor rises beyond with its enigmatic tor cairns.

The White Tor enclosure can be seen extreme far right....


4th August 2003

4th August 2003

A view of the terminal stone with evidence of damage caused by its use in target practice on the Merrivale firing range

The terminal stone at the southern end of the row

Looking south along the row towards the tall terminal stone (in the distance on the right), the Circle and Great Mis Tor (left background)
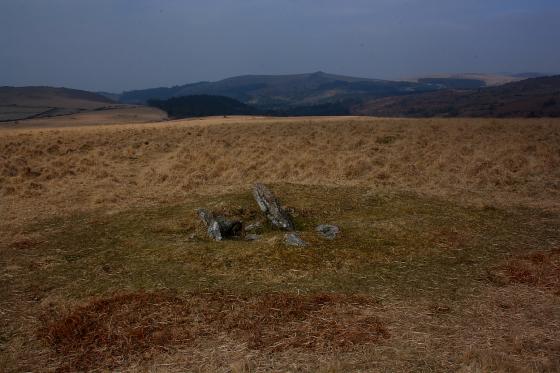
It’s easy to miss this row. Granted the standing stone’s a whopper. But, on arriving you could miss the row altogether and wander like fools around the area to the north of the stone until you notice a 300 foot line of stumpy stones poking up through the grass and moss with the line ending at the standing stone (I speak from bitter experience). I don’t ever recall seeing such an “unbalanced” arrangement and wonder if the standing stone was added much later. Petit (Prehistoric Dartmoor 1974: 131) reports that the row was “discoverd” in 1893 by Baring Gould. The 9 foot terminal stone was re-erected the follwing year by order of the Duke of Bedford but was used for target practice during WW2. Shell-marks are clearly visible in the photograps posted below.